


Do you notice it doesn’t vacuum like it did on day one? Don’t worry; it’s more common than you think. Best of all, there’s a simple solution. Cleaning your accessories isn't just maintenance; it’s giving back to the ally that works so hard for you. Follow this guide, take a few minutes, and watch your vacuum return to peak performance. Let’s dive in!
How Should You Prepare Before You Start Cleaning?
Before we submerge ourselves in the cleaning process, here are a couple of quick tips to ensure everything goes perfectly.
Always Consult the Instruction Manual
We know—nobody likes reading them. But every vacuum model is a world of its own. Your manufacturer knows your equipment best and will give you the specific steps to disassemble, clean, and reassemble accessories without damaging them. Taking two minutes to check it will save you many headaches.
How Do You Clean Each Attachment Step-by-Step?
Every accessory has its own mission and, therefore, its own "spa routine." Let’s treat them one by one.
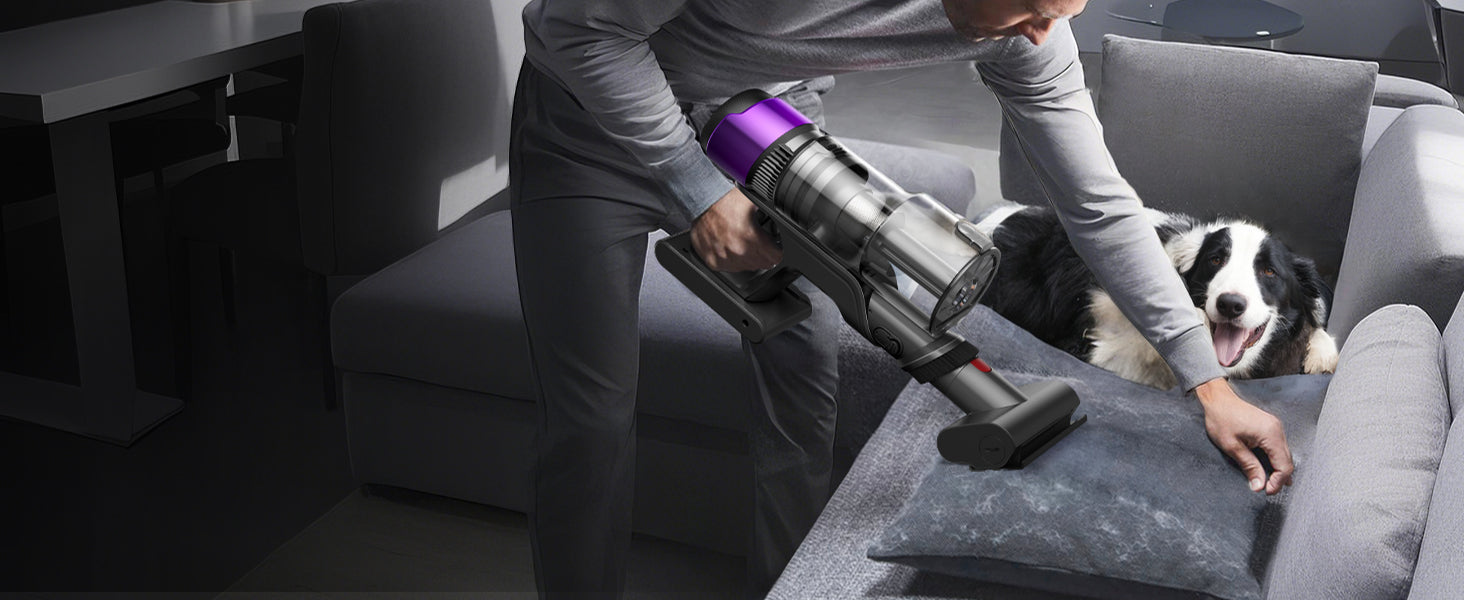
1. The Multi-Surface Brush (or Hard Floor Brush)
This part spends hours rubbing against your floors. It typically accumulates hair, threads, and dust in its bristles and bearings.
- Disassemble: Usually, the roller is removed by pressing side latches. Take it out carefully.
- Clear: By hand (or using a small tool), remove all visible hair and lint wrapped around the ends of the roller.
- Brush: Use a dry cleaning brush or an old toothbrush to dislodge embedded dirt between the bristles.
- Wash (if necessary): If it’s very dirty, wipe a damp cloth with a little soap over the bristles. Important! Avoid getting the bearings or metal axles wet. Dry it immediately with a microfiber cloth.
-
Total Drying: Ensure it is 100% dry before putting it back. Moisture is its enemy.

2. The Hose and Extension Tubes
This is where all the dirt passes through, and sometimes it sticks to the walls, creating obstructions.
- Inspect: Disassemble the hose and extension tubes. Look through them against a light source to see if there are any visible clogs.
- Unclog: If there is a blockage, use a long, flexible object (like a plastic-coated wire) to gently push the obstruction out. Never use something sharp that could scratch or puncture the plastic.
- Wash (optional): For a deep clean, run a slightly damp cloth through the interior. And don't forget to let them dry completely!

3. The Filter: The Heart of the Vacuum
The filter is the most overlooked part but the most important. A dirty filter is the number one reason for loss of suction.
- Locate the filter: It’s usually in the dust bin or just before the motor.
- Filter Types:
- Washable Filter (HEPA or Foam): Remove it and tap it gently over a trash can to release loose dust. Then, wash it under the tap with cold or lukewarm water until the water runs clear. Never use hot water!
- Drying: Let it air dry for at least 24 hours. Do not use a hairdryer, as high heat can damage the filtration fibers.
- Disposable Filter: These cannot be washed. Simply replace them according to the manufacturer's instructions (usually every 3-6 months).

What Are the Best Tips for Eternal Performance?
- Empty the bin after every use: Don’t let dirt compact and create bad odors.
- Dry, dry, dry: We’ve said it a thousand times, but it’s crucial. Moisture in the wrong places can damage the motor and cause mold.
- Make it a routine: A quick brush-off after each use and a deep monthly clean will keep your companion happy and efficient for years.
By following these simple steps, your cordless vacuum will not only work better but will also have a much longer lifespan. It’s a small investment of time for a massive return in performance and peace of mind. Your home—and your vacuum—will thank you!

Leave a comment
This site is protected by hCaptcha and the hCaptcha Privacy Policy and Terms of Service apply.